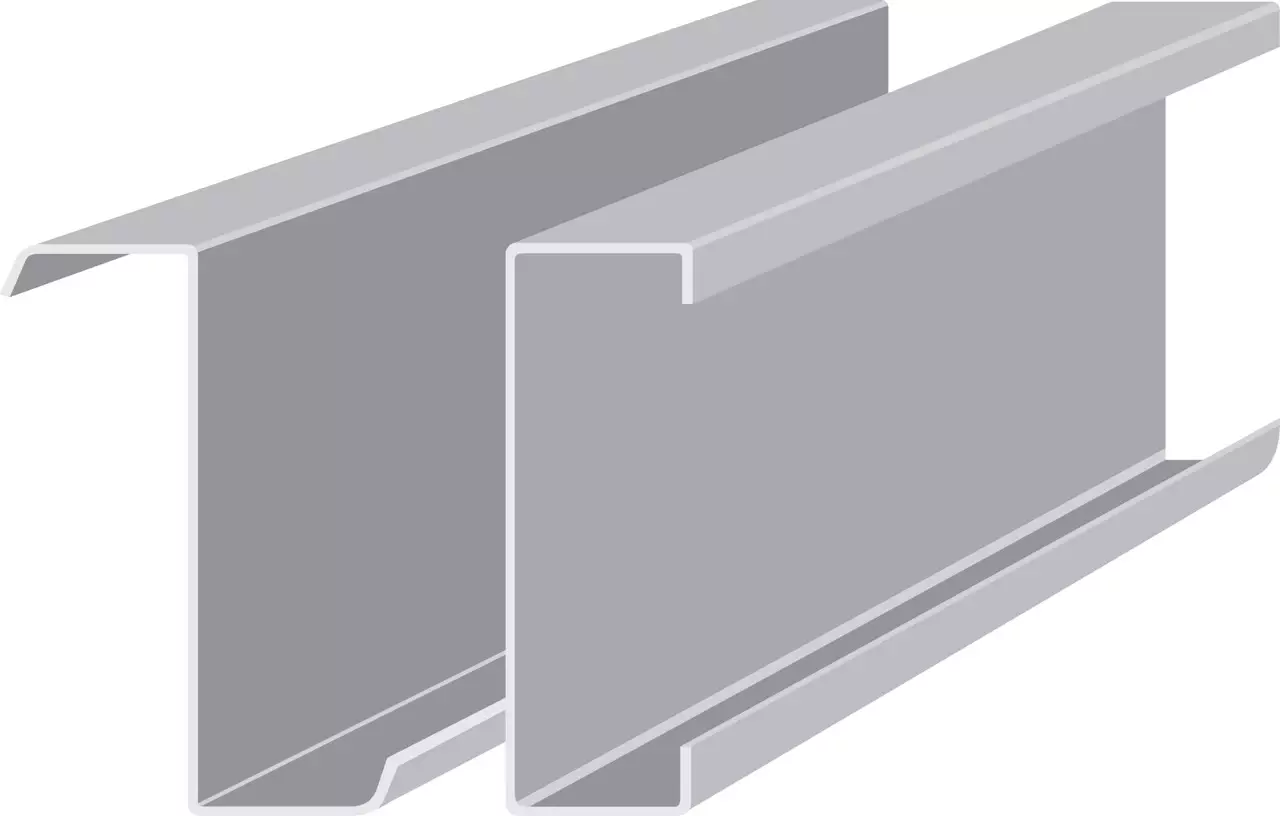
Welding is one of the popular employed methods for connections in steel structures, known for its high bonding efficiency and applicability in complex structural configurations. To achieve the effectiveness above, steel structure welding must adhere to stringent standards before being put into use. Let’s explore the standards for steel structure welding and relevant information with Pebsteel in the following article.
See more: Bolt Connections In Steel Structure
1. Technical requirements for steel structure welding
During the implementation of steel structures welding, the following technical requirements must be accurately met:
- Thoroughly clean the metal base material to be welded and the adjacent metal area, until the surface becomes bright and metallic luster, is visible.
- Ensure cleaning of each weld edge with a minimum width of 10mm.
- In the case of multi-layer welding, weld slag must be removed in the preceding layer before proceeding to the subsequent layer.
- When the ambient temperature drops below 0 degrees Celsius, welding of components should be avoided to ensure the quality of the weld joint.
- Before commencing the welding of structural steel components, differentiate between Tig and Mig welding technologies.
- Allow the choice between manual welding and automatic welding on the same weld joint.
- After automatic welding, there is the possibility of additional weld buildup using manual welding. For subsequent welds, if they occupy less than 15% of the total cross-sectional area of the weld, they are still considered automatic welds.
- Ensure that the stress appearing in the weld joint does not exceed the limits specified by the electric arc welding technology.
- The strength coefficient of the weld joint by gas or electric welding is specified in the design documentation.
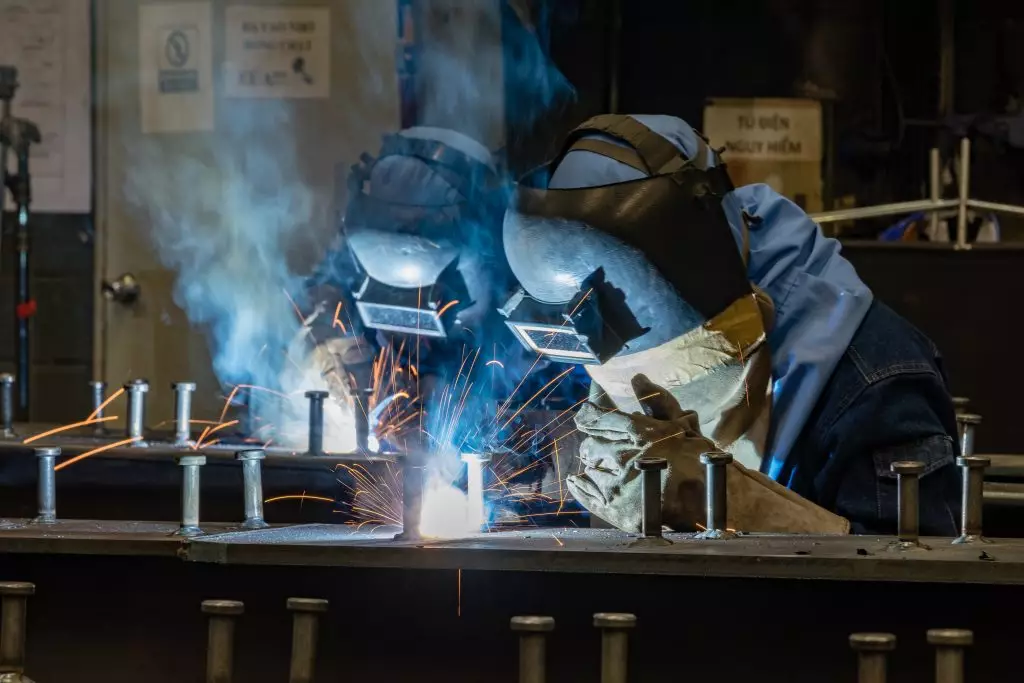
2. Quality inspection for steel structure welding
2.1. General regulations
The manufacturing, installation, and repair unit undertaking the fabrication is required to organize quality inspections of weld joints on pressure-bearing components. The quality assessment of weld joints must employ one or more of the following methods, contingent upon the type of weld joint and operational parameters of the equipment:
- Visual inspection is applicable to all types of weld joints.
- Non-destructive testing using ultrasonic examination or radiographic imaging.
- Mechanical testing, microstructural examination.
- Hydraulic testing is applicable to all types of weld joints.
In addition to the methods outlined above, weld joints should also undergo inspection using other techniques as stipulated by the technical requirements outlined in the manufacturing product specifications.
See more: The Process of Structural Steel And Plate Fabrication
2.2. External inspection
External measurement inspection must be conducted on both sides spanning the entire length of the weld joint. In cases where internal measurements are not feasible, inspectors are only permitted to conduct external measurements. For both sides of the weld joint surface and the adjacent metal region, it is essential to ensure that they are cleaned during external inspections, with a minimum cleaning width of 20mm for the adjacent metal.
2.3. Mechanical testing
Mechanical testing is conducted to determine the strength and ductility of weld joints. Mandatory forms of mechanical testing include tensile testing, bending testing (in the case of pipes, bending may be replaced by compressive buckling testing), and impact testing. Additional forms of mechanical testing, such as hardness testing or shear and impact testing may be required based on specific manufacturing and operational technical requirements.
- Tensile testing must adhere to the TCVN 5403-1991 standard. However, conducting tensile tests is not mandatory for horizontal weld joints that have been 100% inspected using ultrasonic testing.
- Meanwhile, bending testing (or compressive buckling testing) needs to be performed according to the requirements of the TCVN 5401-1991 standard. Bending testing may be replaced by compressive buckling testing for pipes with a diameter of less than 100mm and a wall thickness of less than 12mm.
- Impact testing must comply with the TCVN 5402-1991 standard, where the dimensions of the mechanical test samples will be by the TCVN 5400-1991 standard.
To assess the mechanical properties of the weld joint, it is necessary to obtain an adequate number of test samples from the product weld joint as follows: 2 tensile test samples, 2 bend test samples, and 3 impact test samples. The weld joint of the product and the test plate (or pipe) must be carried out by the same welder under the same conditions. If any of the weld samples in any test type yield results below the specified strength and bending angle by more than 10%, that weld joint will be deemed non-compliant.
In the case that the test results for a specific type do not meet the requirements, a second test must be conducted for that same type with twice the number of samples, cut from the same test plate (or pipe), and performed by the same welder. The weld sample will be disqualified if any of the second test samples fail to meet the requirements.
See more: Structural Steel Properties and Applications
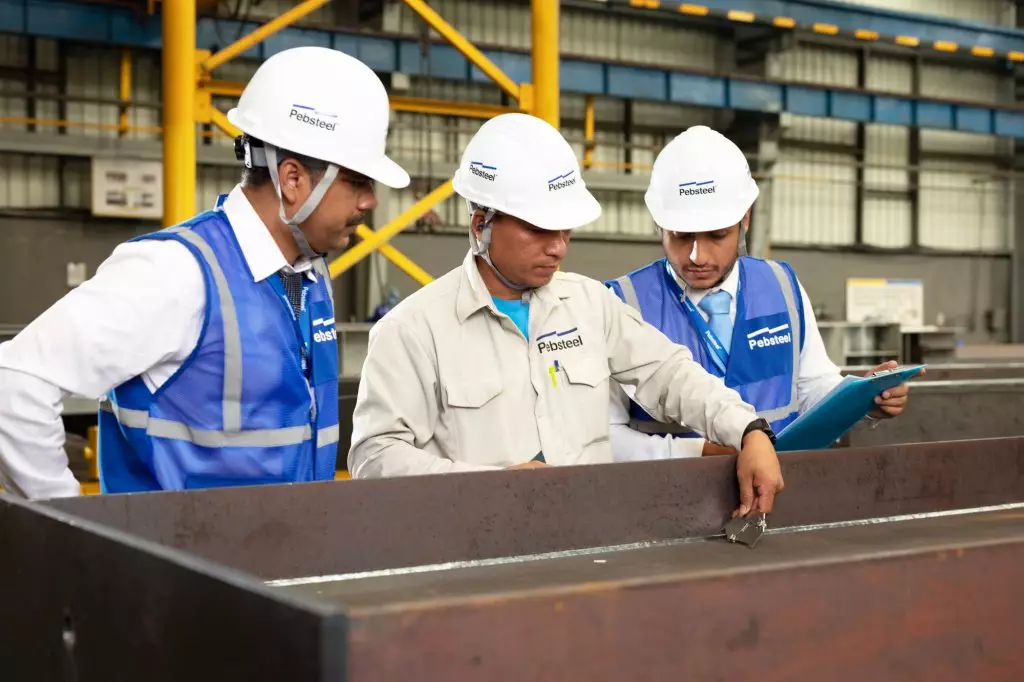
3. Standards for steel structures welding and welding testing methods
3.1. Ultrasonic testing method
The ultrasonic testing method for weld joints must comply with the regulations of the Vietnamese standard TCVN 4395-1986. The weld joint inspection process utilizes X-rays and gamma rays to detect defects on the metal surface. During the inspection, no methods that could damage or destruct the weld joint are allowed. The mass of the weld joint to be tested must fully adhere to the specified requirements. With the inspector’s permission, the specialist may reduce the test sample mass.
The results of flaw detection testing for weld joints using the ultrasonic method are evaluated based on the Vietnamese standard TCVN 1548-1987. Additionally, the results of flaw detection testing for weld joints using radiographic examination are assessed according to the Vietnamese standard TCVN 4395-1986. The inspection process allows for the substitution of ultrasonic and radiographic methods with other techniques, such as microstructural examination. However, the inspection process must not cause damage or destruction to the weld joint and requires approval from the inspector.
3.2. Microstructural analysis
The number of microstructural analysis samples should be at least 01 samples for carbon steel and at least 02 samples for stainless steel. The sampling procedure, size, and shape of the test sample must adhere to the technical requirements stipulated in the applicable standards. In cases where the microstructural analysis results do not meet the requirements, a second test must be conducted on two samples cut from the weld joint of the product. The weld joint will be deemed non-compliant if the results of the second test are not satisfactory.
In cases where the weld joint meets the requirements when tested by ultrasonic testing or radiographic examination but fails when inspected using microstructural analysis, a re-inspection of the entire product weld joint must be carried out using the previously applied non-destructive methods.
See more: Erection of Steel Structures
4. Conclusion
The article above provides information about standards for steel structure welding in 2023, along with some related details. Please contact Pebsteel by phone at +84 908 883531 or by email immediately at Marketing@pebsteel.com.vn if you require comprehensive solutions for pre-engineered steel buildings and steel structures.
*** This article is intended to provide general information about the pre-engineered steel building and steel structure industry only. For further details or clarification based on your needs, please contact Pebsteel directly.

